
Small Paper Bag
Never buy a small paper bag for gifts again!
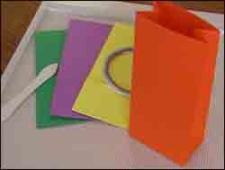

A small paper bag is very simple to make! And, once you make your first one you will be making these in all sizes and colors.
You will never need to run out to the store and hunt down a paper bag for your last minute gift. Because you can use these as gift bags.
And, you will see that these are top- notch and very inexpensive!
Small paper bag and other craft ideas.
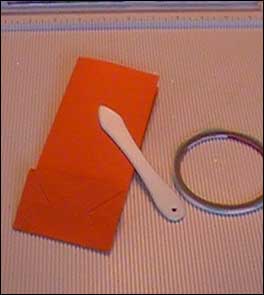
What you will need to make your own small paper bag.
Score board
Bone folder
Adhesive
1 sheet of copy paper (8.5 x 11)
Step-by-step instructions for a small paper bag
Then, turn your paper to the landscape position or on it's side so it's wider than longer. If you are using sticky tape or the kind of adhesive I am using run adhesive down the right side of the paper.
Try to get the adhesive as close to the edge (without going over the edge) of the paper. But, if you are using snail adhesive or a runner type of adhesive you will want to wait to put the adhesive on until step three.
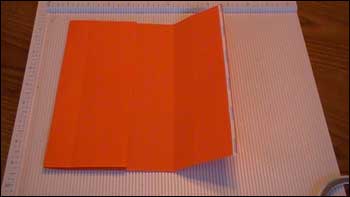
2. Fold your paper so the edges over lap slightly centering the seam of the paper in the center. It's like folding your paper in thirds. This will be the seam for your small paper bag and it looks a lot nicer if the seam is in the middle instead of off to the side.
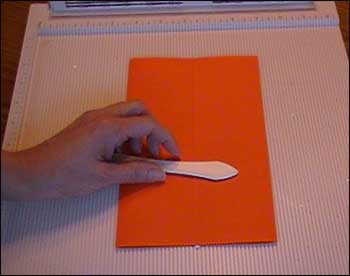
3. Score the sides of the paper at one inch on both sides.
4. Turn your paper on its side and score at 6 and and a quarter inches.
Then score it again at 5 and a quarter inches. This will be the bottom of your small paper bag.
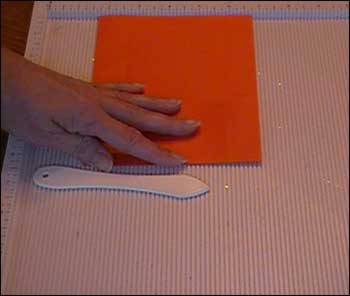
The image to the right doesn't show that the paper was actually turned on its side for the score lines.
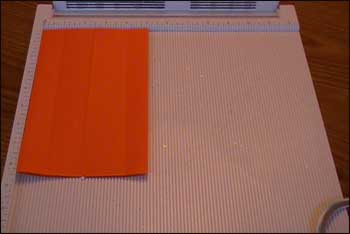
5. Fold on all the score lines  except for the one inch score line at the bottom that is above the 6 and a quarter score line. Now open up your bag untill it is back to being flat.
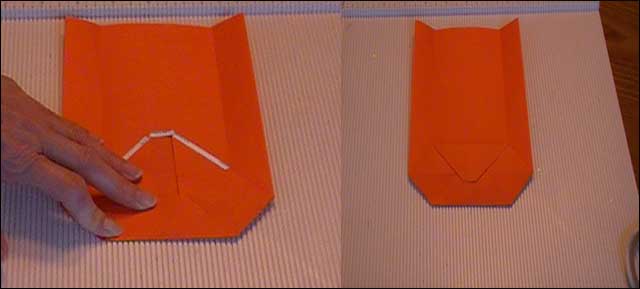
6. Fold the bottom portion at the 6 and a quarter fold line straig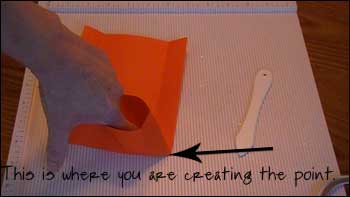 ht up and put your finger into the corner of the small paper bag to create a point.
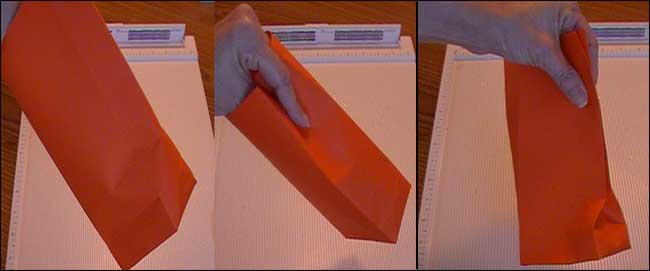
7. Now, fold back the side of the bottom flap. Or better yet, pull the bottom part of the paper bag back... refer to photo or video.

Now, the only reason I am doing it with one hand is because I have the camera in the other hand. It's easier if you use both hands:)
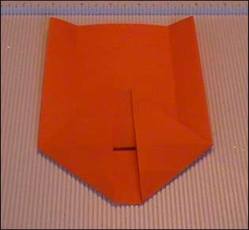
8. Line the corner seams with the inside fold and press the down and flatten with bone folder.
Do this on both sides.
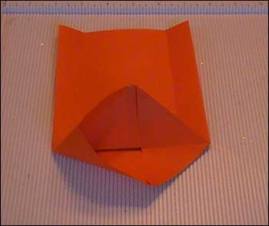
9. Place the adhesive in the areas shown. On the bottom flap you will want to put the adhesive on the corner up to the score line. On the top flap the adhesive sho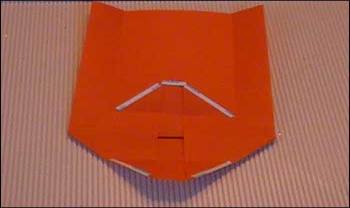 uld go from the corner down to the score line and them across the top.
10. Remove the tape liner from the adhesive and fold on the exsisting score lines. Start with the bottom flap and fold up, then fold the top flap down.
11. Open up your small paper bag and push out the bottom. On the sides you will need to push the middle score line in and line up the two othe side score lines.
12. Lay it down and crease the sides well. Now, push towards the bottom and pat on the flap so it will sit flat.
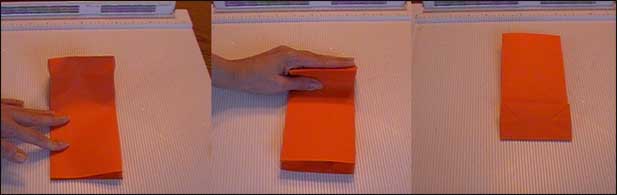
And? YAHOO! You have finished your small paper bag! Remember... you can use these as gift bags too!

Craft Projects
Seasonal
- Christmas Crafts
- Halloween Crafts
- 4th of July Crafts
- Mother's Day Crafts
- Father's Day Crafts
- Valentine's Day Crafts
- St. Patrick's Day Crafts
Resources


New! Comments
Have your say about what you just read! Leave me a comment in the box below.