
Halloween Treat Bag Tutorial
Free Step-by-Step Halloween Treat Bag Tutorial
This FREE Halloween Treat Bag Tutorial was put together to help you while you are putting this treat bag together. This is yours to freely download and use for giving or selling your treats.
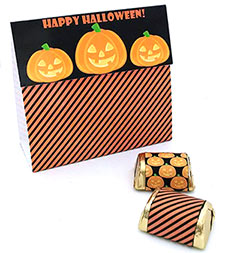
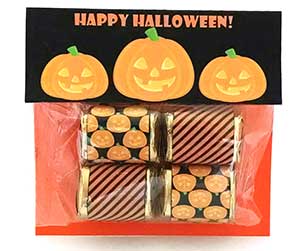
Anyone would love to get this treat bag! Don't forget to give your friends and office mates a small Halloween Party Favor or sweet treat for Halloween. They will love it and will be amazed that you made it for them!
Supplies Needed: Halloween Treat Bag Tutorial
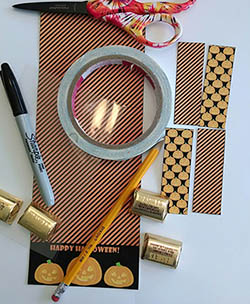
Cardstock
Black Marker or Sharpie
Pencil/Pen
Scissors or cutter
Adhesive: Permanent/Repositional
Cello bag or baggie
Candy
Step-by-Step Halloween Treat Bag Tutorial
1. Get the Halloween Treat Bag Tutorial PDF. It will be emailed to you by Fastwagon. So, check your email!
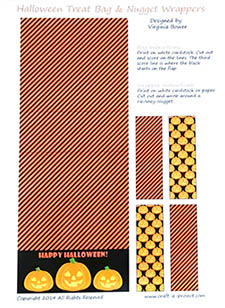
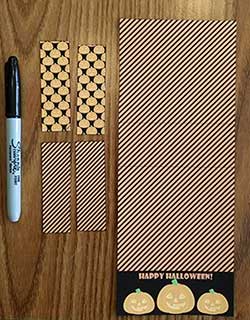
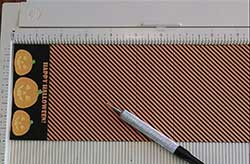
2. Print on white Card Stock. Cut out the treat bag and the nugget wrappers with either a pair of scissors or a cutter. All I did here was take a straight cutter and cut on the lines.
If you want the sides of your Halloween Treat Bag to have black edges then you can use a black sharpie, like I did, or you could use an ink pad to darken them. They are going to be white if you don't ink them. I like the black contrast it gives to the bag.
I also did the same thing to the nugget wrappers. We will get to the nugget wrappers in a second.
3. For the Halloween treat Bag: If you use a score board, score on the lines you can see in the middle. The third score line is right where the black starts for the flap. If you don't have a score board, fold on the lines.
4. Fold on the score lines, making them crisp.
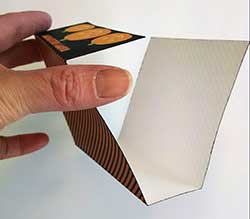
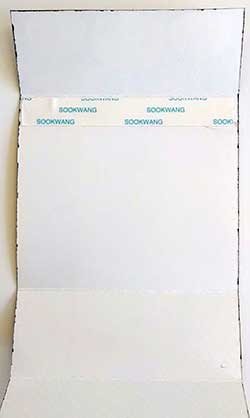
5. Add adhesive to the first fold under the flap. I used scor tape for mine but, you can use any type of adhesive. This is where you will attach your cello bag or baggie. As you can see, my edges look rough... They aren't rough. I did the black marker faster than I should have. Just remember to only use the ege of the sharpie and watch so your hand doesn't slip off like mine did.
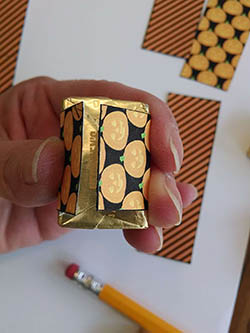
6. Let's put the wrappers on the nuggets now. With a pen or pencil, bow your nugget wrapper. Place adhesive one one end of the wrapper. Now, if you want the whole wrapper to stick to the nugget you can apply adhesive to the whole wrapper. However, I am only putting adhesive on one end because I want it to slide like a belly band would.
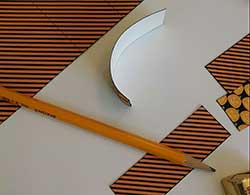
7. Get your nugget and one wrapper. Leave the adhesive tape on until you get the wrapper where you want it. Once you wrap you will need to kind of put creases around the edges with your fingers. The end without the adhesive will lay down first. Once you have the other end lined up with the first end take the back off of the tape and press down firmly.
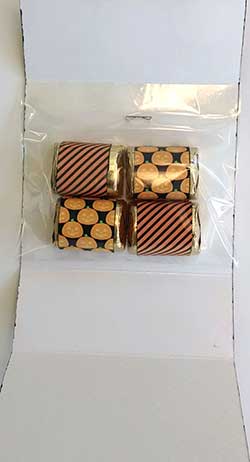
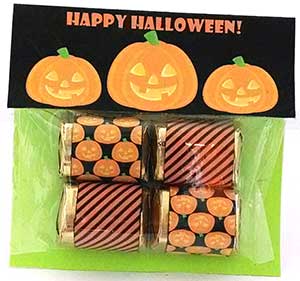
8. Get your cello bag, mine is 4" wide and pretty long to where I had to cut some of it off. You can fold yours down if you don't want to cut it. Place 4 wrapped nuggets inside the cello bag and staple closed.
Place the cello bag top edge right up to the first fold and adhere.
9. I put repositional tape on the outside of the bottom of the treat bag to adhere it to the flap. I used repositional tape so the bag could open and close. You could tack it down permanently with either tape or even a staple.
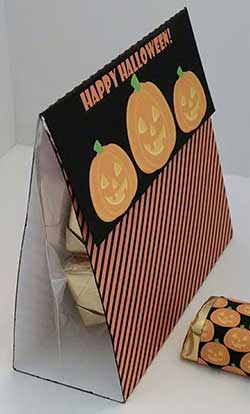
Remember, you don't want your cello bag too full or too long because you want it to stand up without bowing. And, when you close it for the first time make sure you sit the treat bag up and bring the lower part up, but just far enough to where the bag still sits right.
If you want another look for your Halloween Treat Bag you can cut off the lower flap and cut a colored piece of cardstock and adhere it to the back flap and have a whole different look.
I hope you enjoyed this Halloween Treat Bag Tutorial!
And if you did, please share it and leave a comment below!
Thanks!
Virginia
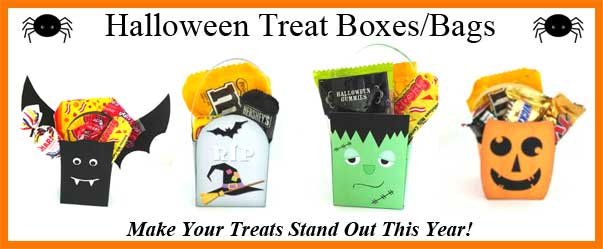
Other Halloween Treat Bag Tutorial you may be interested... Get them now while they are 50% off!
Craft Projects
Seasonal
- Christmas Crafts
- Halloween Crafts
- 4th of July Crafts
- Mother's Day Crafts
- Father's Day Crafts
- Valentine's Day Crafts
- St. Patrick's Day Crafts
Resources


New! Comments
Have your say about what you just read! Leave me a comment in the box below.