
Ladybug Punch Art
Ladybug Punch Art Using Basic Paper Punches
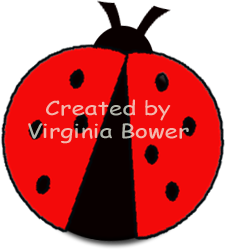

This ladybug punch art tutorial is one of the cutest and easiest craft projects to make.
As you can see this craft project is mostly based on circles, so it would be easy to alter the size with different size circles or punches.
Once you have finished making this ladybug punch art, go and make the others!
Ladybug Punch Art Supplies Needed:
scissors
adhesive
Small circle punch
Medium circle punch
Large circle punch
Easy Ladybug Punch Art Steps:
1. Adhere the head to the body, underneath the body, leaving a section sticking out fot the actual head.
2. Adhere the little antennas to the head. Making the antennas was pretty simple as well. I just cut some very small scraps of paper then tried to duplicate it for the second one and the took a pencil and curled them just a little bit.
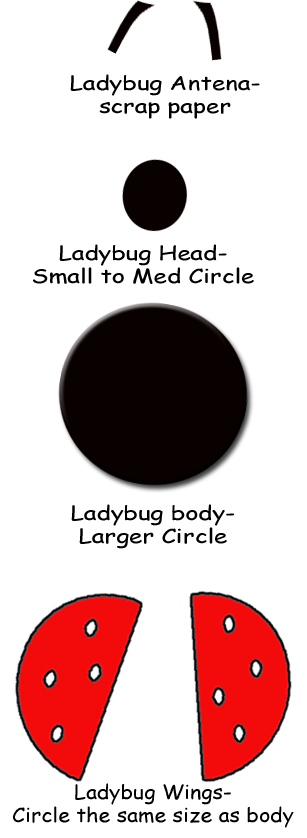
3. Take the wings and angle them just a little outward and adhere. Now, if you want to angle them more you will need to cut another black circle and layer it under the red to cover the holes. Make sure to cut the additional black circle in half.
Tips:
There are many things you can do with this punch art project. Here are a few different ways to use them once you make them:
1. Attach them to large paper clips and use them as bookmarkers.
2. Refridgerator magnets
3. How about a theme party?
Or if you are having a party for a child attach them to gift bags or to cup or put on a tooth pick and stick in cup
cakes!
4. If you tilt the wings it will make your ladybug punch art look like its flying or getting ready to take off!

For more free and easy craft projects:
Craft Projects
Seasonal
- Christmas Crafts
- Halloween Crafts
- 4th of July Crafts
- Mother's Day Crafts
- Father's Day Crafts
- Valentine's Day Crafts
- St. Patrick's Day Crafts
Resources


New! Comments
Have your say about what you just read! Leave me a comment in the box below.